

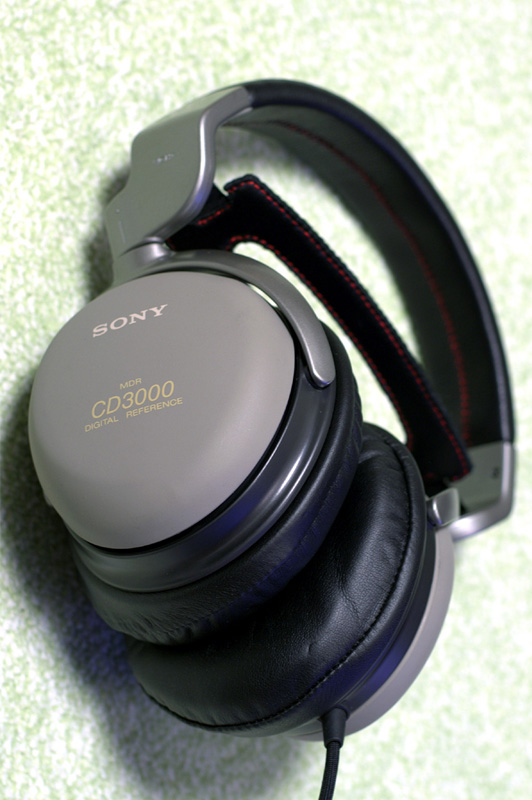
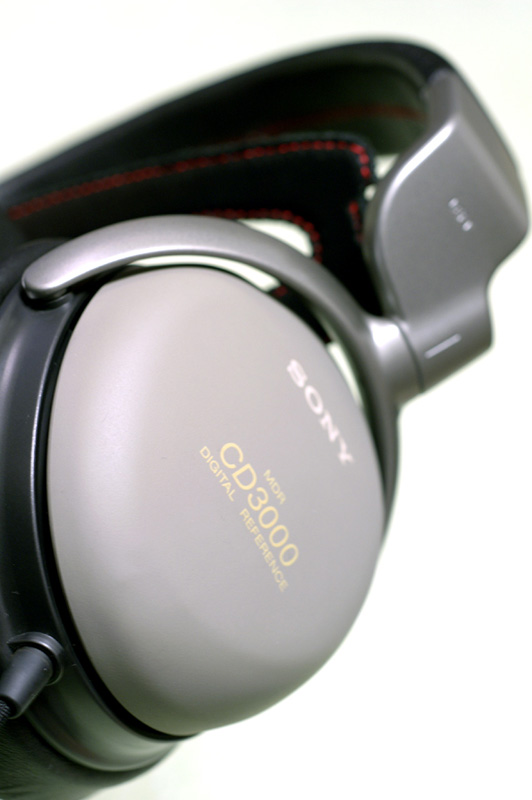
The MDR-CD3000 is a high quality headphone made by SONY released in 1991. At the time, there was a high-end model called the MDR-R10 that cost more than $2,500 (When calculated to today's money after inflation, is a little under $5,000 dollars), but it was too expensive for me to buy easily. The MDR-CD3000 was produced by feeding back the technology of the MDR-R10, and even after the end of production in 2004, there was no successor model to replace it, I think so many people still love it. In terms of balance, it is slightly closer to the high frequencies, but it is said to be a masterpiece of closed-type headphones with a wide sound field and a pleasant sound, and good ones are traded at high prices at ebay etc.
However, the synthetic leather used in the headband and ear pads of these headphones is not durable, and if left for about 5 years, it will become sticky or fall apart. I bought it almost at the same time as it was released, so I have owned it for more than 30 years, but I sent it in for repair several times along the way. It seems that genuine repair parts for ear pads are no longer available. Also, these headphones, which were originally made in Japan, have been made in China at some point, and when the headband part is repaired and the assembly is replaced, the stamp at the base of the headband will be "china". I didn't like it changing from the original state, so I decided to replace the leather part myself.
If you want to try this article, please do so at your own risk.
Work is basically done while referring to the service manual.
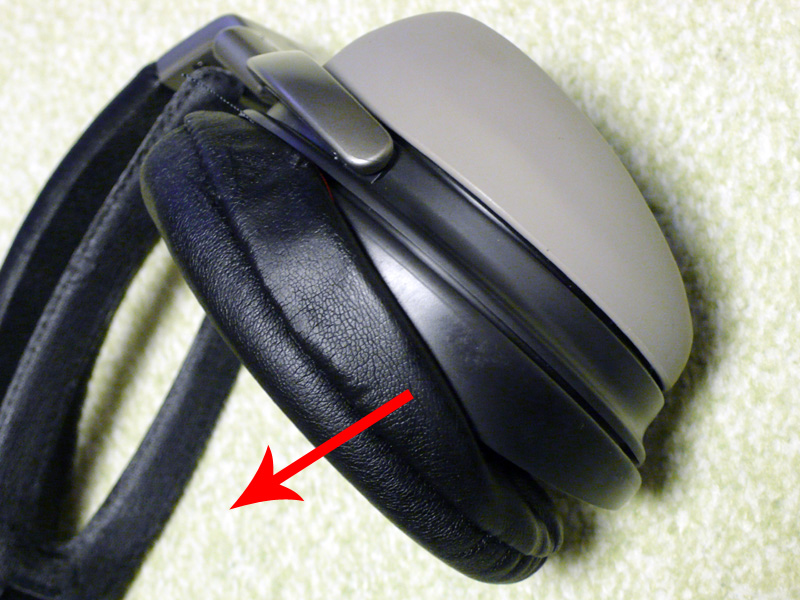 1.First, remove the ear pads (4-946-220-01 / 4-946-221-01).
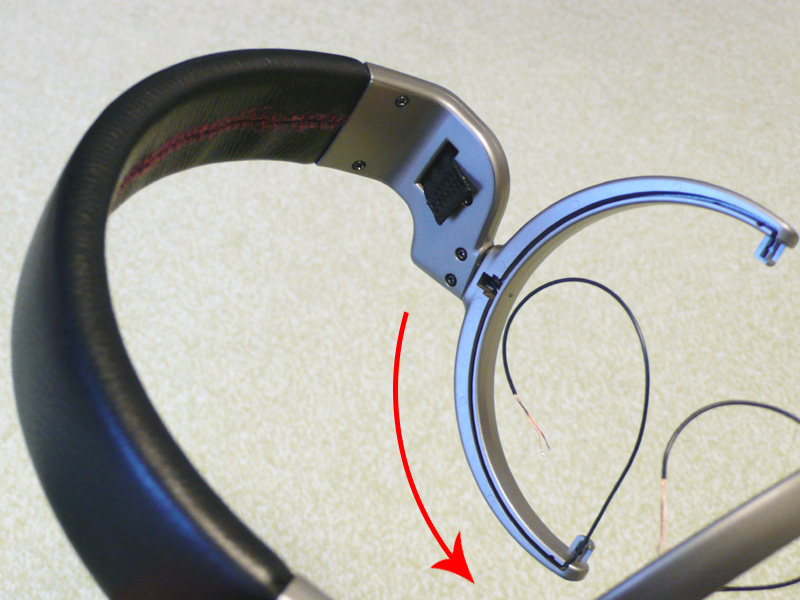
The ear pads can be removed by pulling in the direction of the arrow.
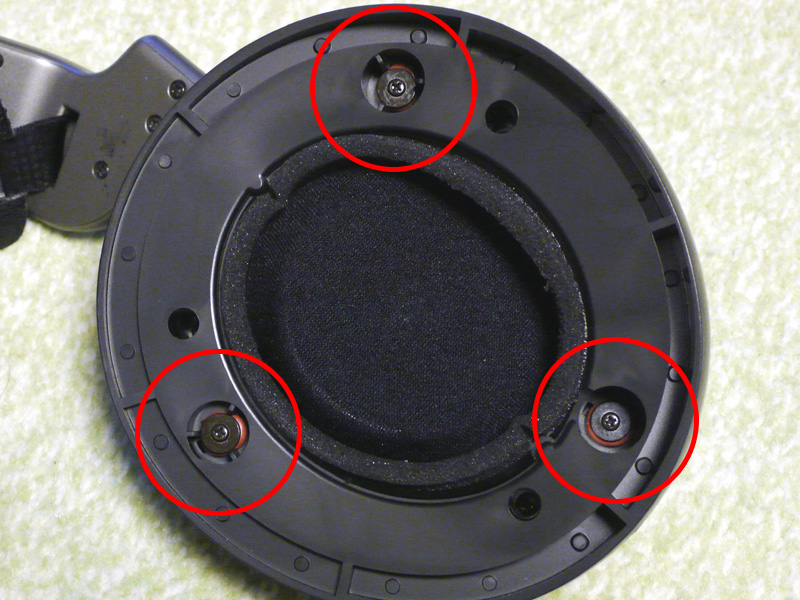 2.Unscrew the 3 screws (4-920-209-11) circled in red.
 3.Unscrew the left and right screws and remove the front plate (X-4941-883-1 / X-4941-884-1) together with the housing (4-946-226-01 / 4-946-227-01). The urethane sheet (4-947-053-01) in front of the driver (1-505-132-11) is also melted and tattered.
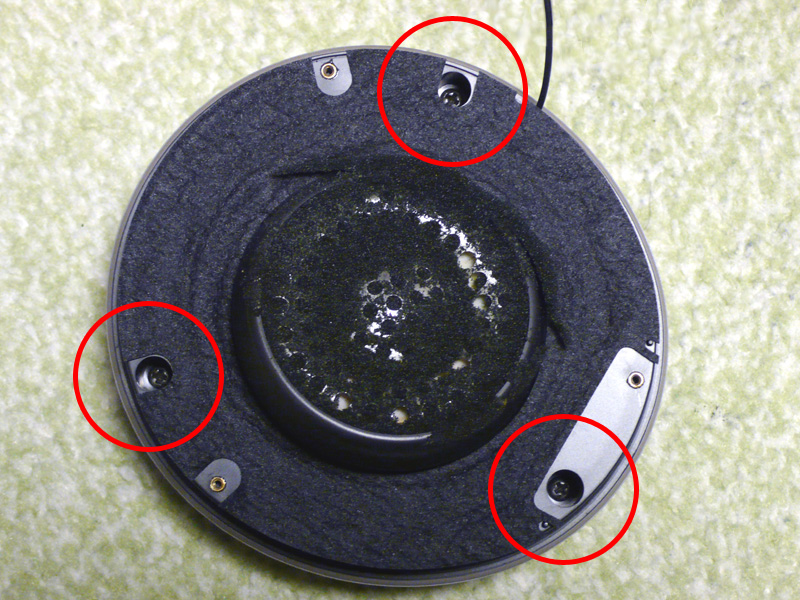 4.Unscrew the 3 screws (7-685-135-19) circled in red.
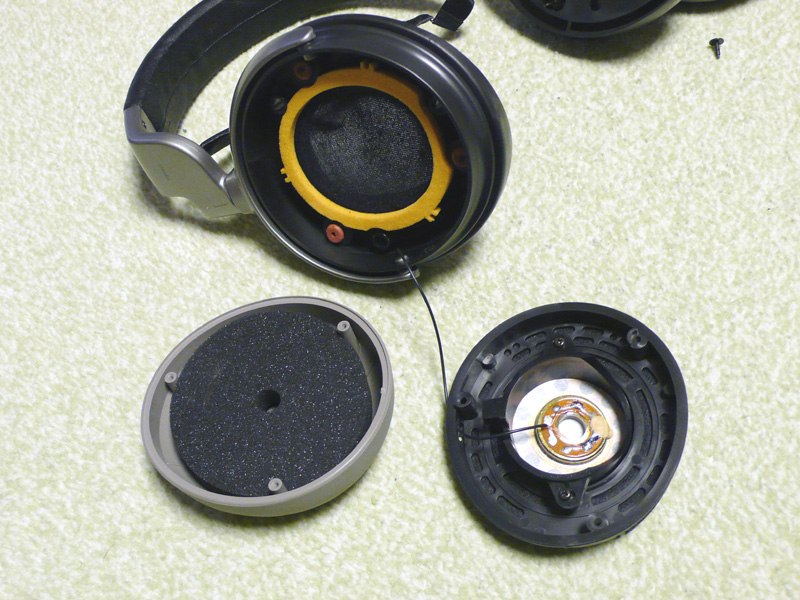 5.The disassembly of the housing and the front plate is completed by unscrewing the screws.
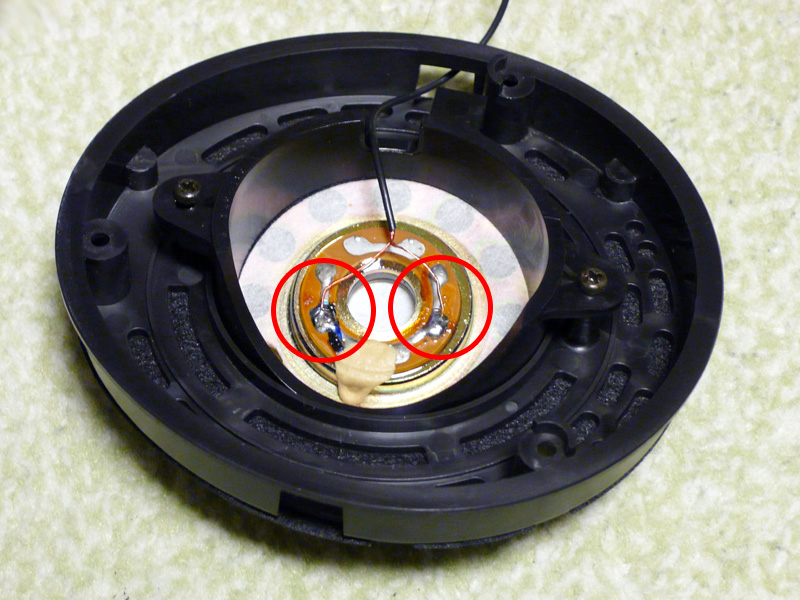 6.In order to remove the headband (A-4540-110-A), it is necessary to melt the solder and remove the thin cords for crossover wiring. If the polarity is reversed, it will be a problem, so mark the removed position with red and black markers.
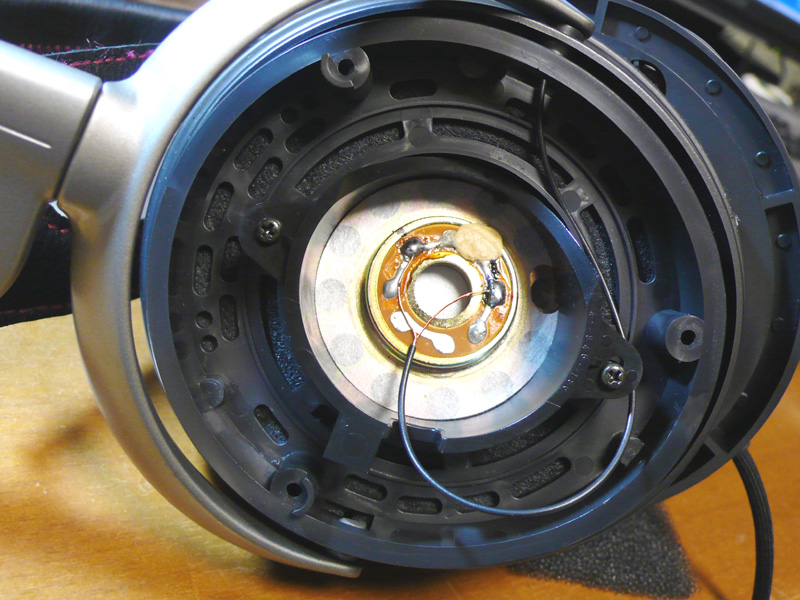
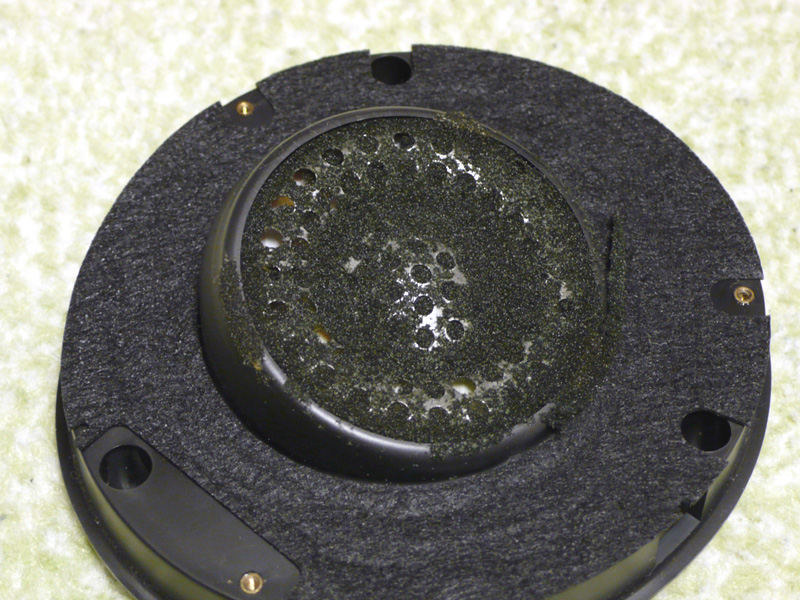 7.The urethane sheet (4-947-053-01) that must have been in front of the driver (1-505-132-11) has melted and become sticky. Clean it with alcohol, a vacuum cleaner, or blowing on it. When using a vacuum, always use the brush head and vacuum on low mode. If you suck too hard, the diaphragm will be damaged.
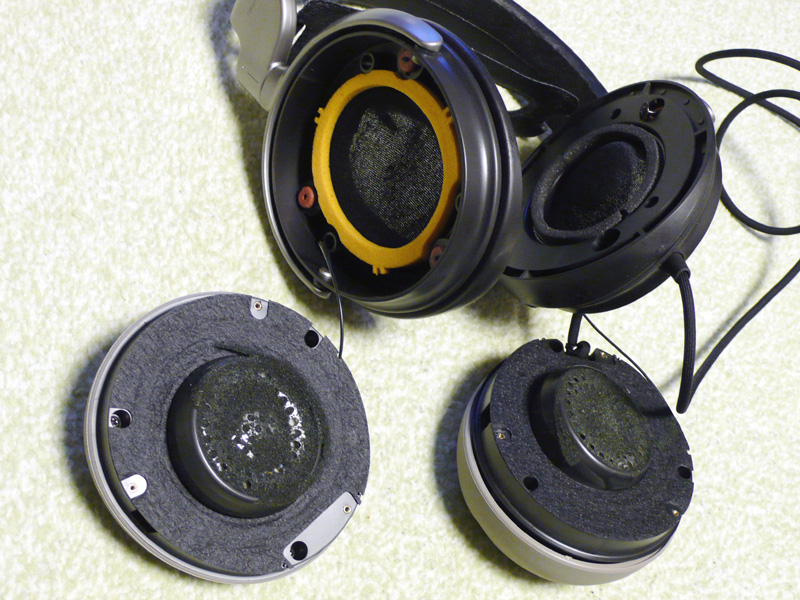
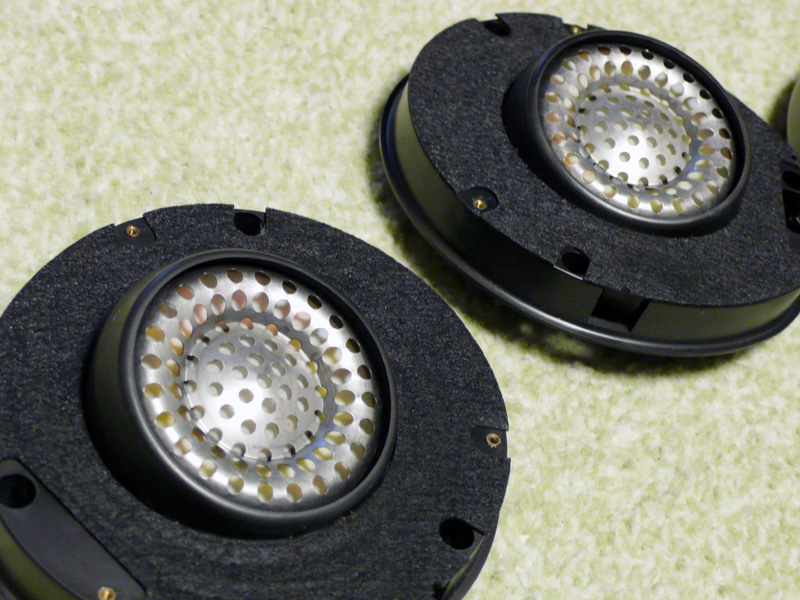 8.Cleaned up both drivers.
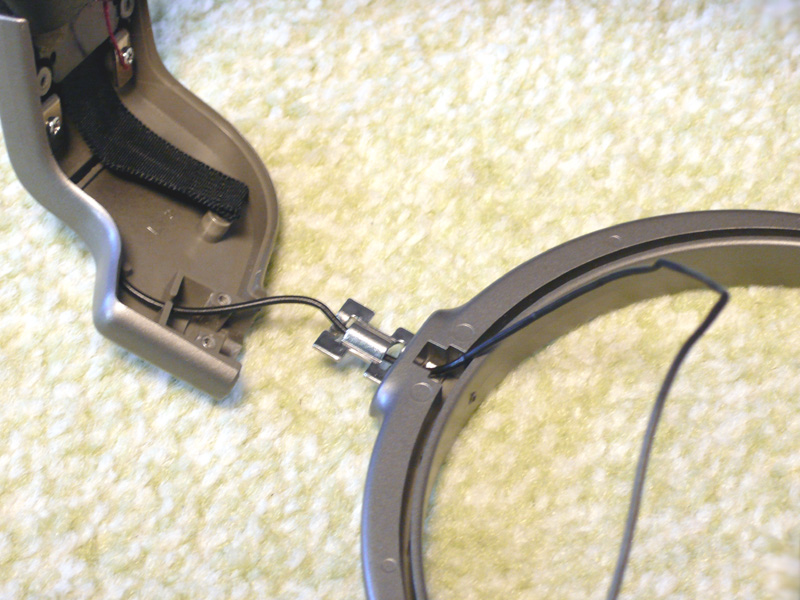
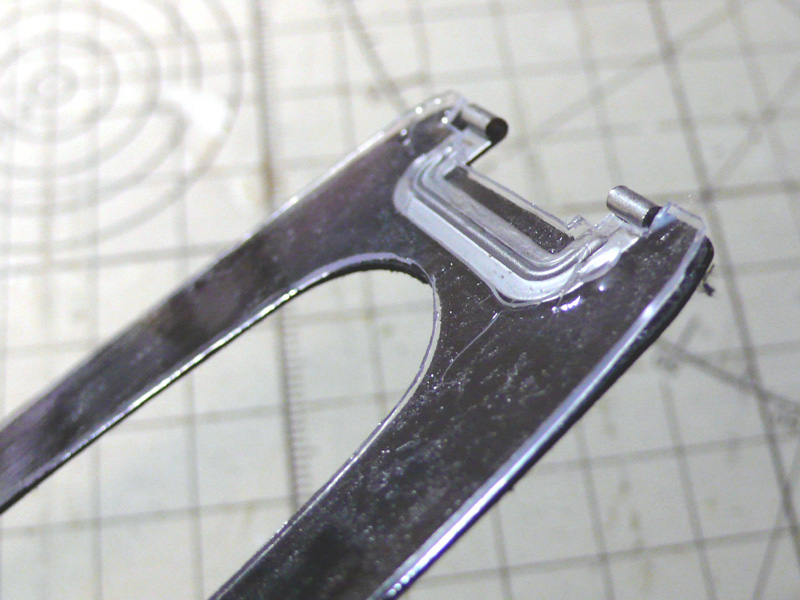
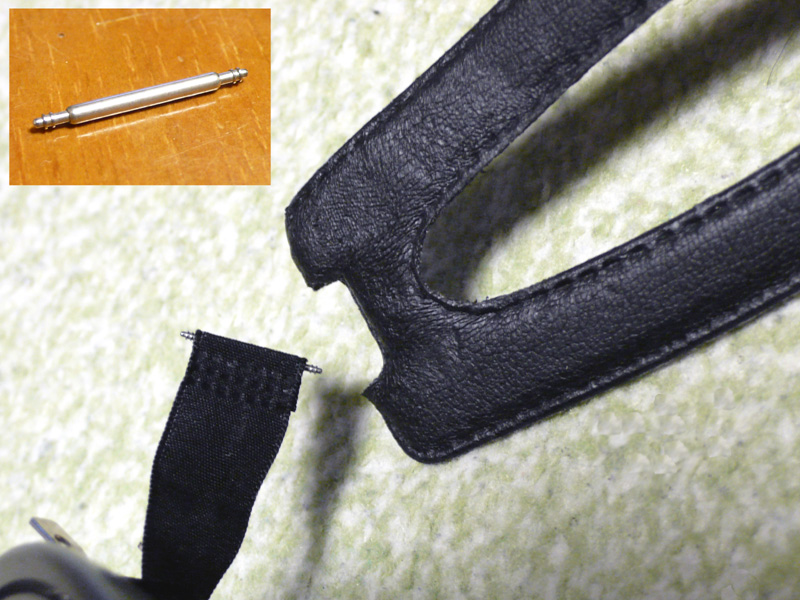 9.The adjustment band is attached with metal fittings similar to those used to fasten the strap of a watch. Both ends of the metal fittings are designed to retract when pushed, so it can be easily removed by retracting one or the other.
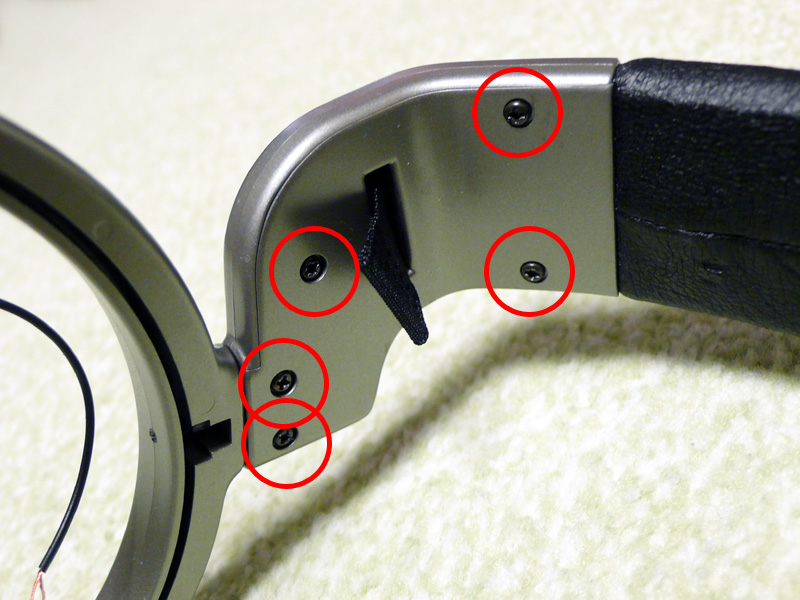 10.The cover can be removed by unscrewing the 5 screws circled in red. Unscrew the other side in the same way.
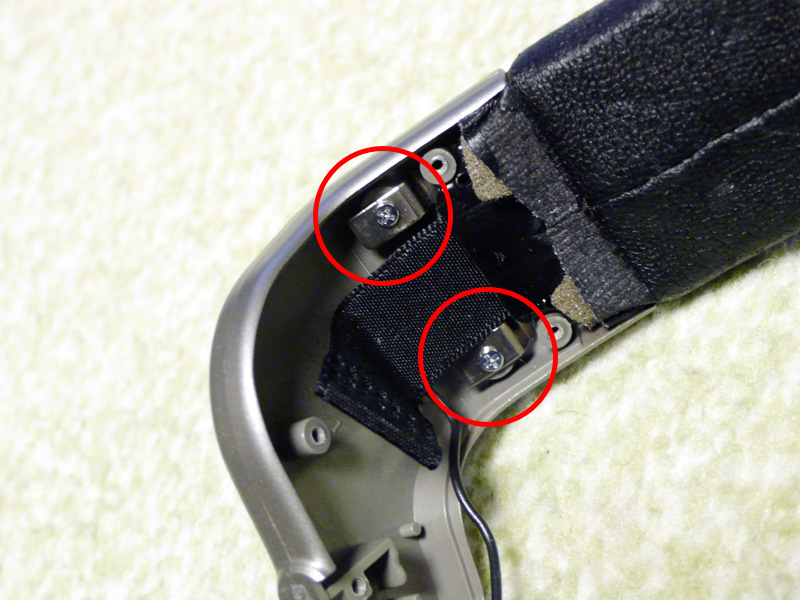 11.There are 2 screws circled in red inside the cover, and if you unscrew them, the headband (A-4540-110-A) will come apart.
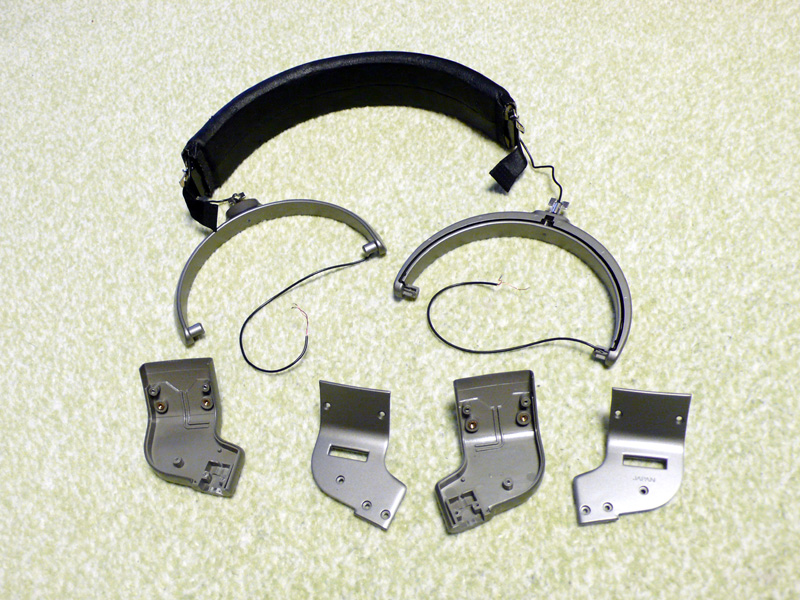 12.Disassembled headband part.
The cord is inserted into the hanger groove that supports the floating base (4-946-222-01 / 4-946-223-01), so you have to be careful when pulling it out.
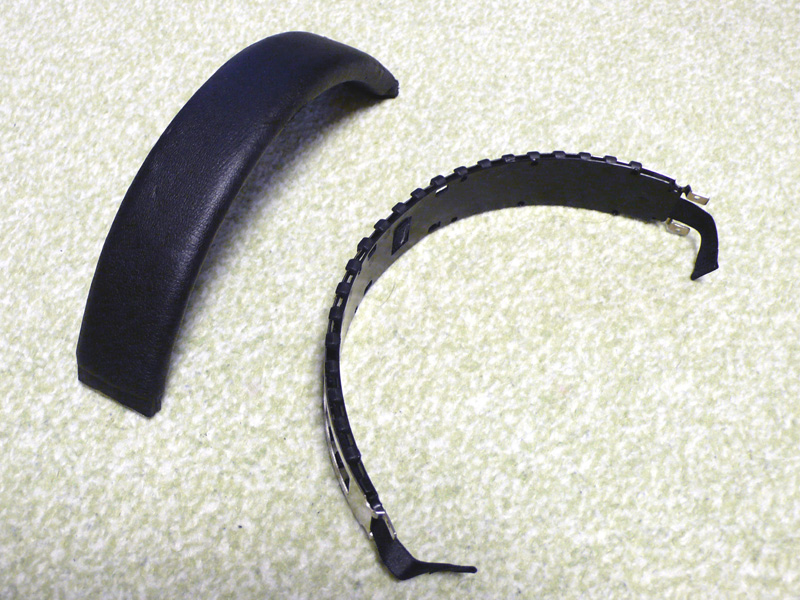 1.Pull out the bone inside the headband.
I think it will come out easily if you pull it.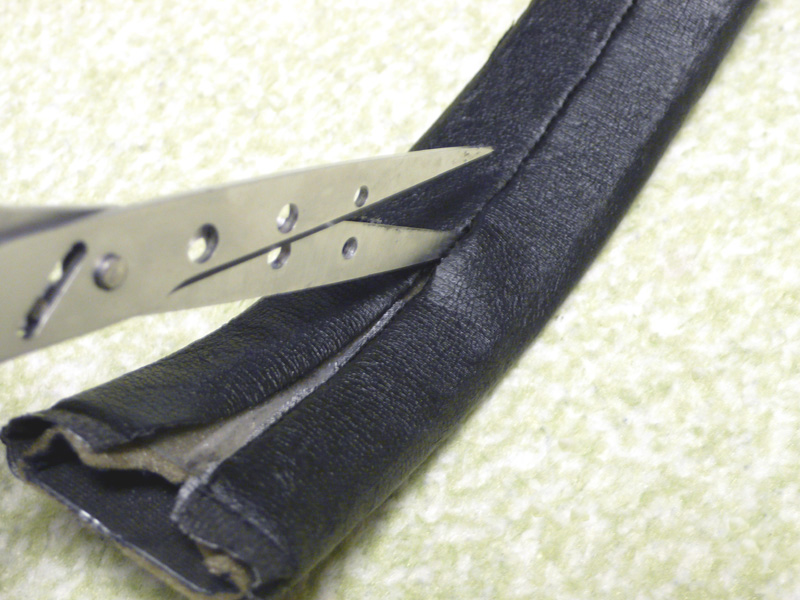 2.The outer leather is cut with scissors to remove the sponge and a plastic pattern inside.
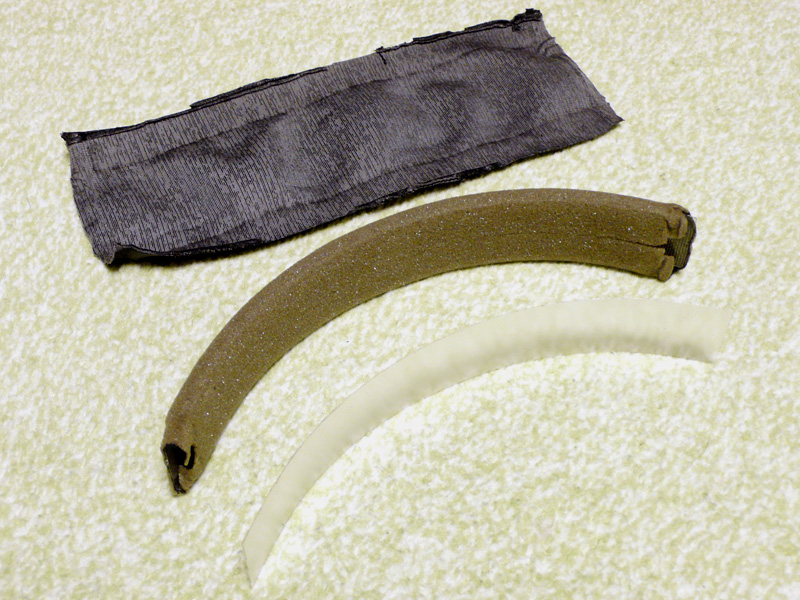 3.The outer leather cut with scissors is not used, but the sponge and plastic patterns are used as is.
 4.For the repair leather, I used a piece of cowhide purchased on Amazon.
Cut to a size of approximately 9.06in x 3.15in (230mm x 80mm). You may need to adjust the size slightly depending on the thickness of the leather used.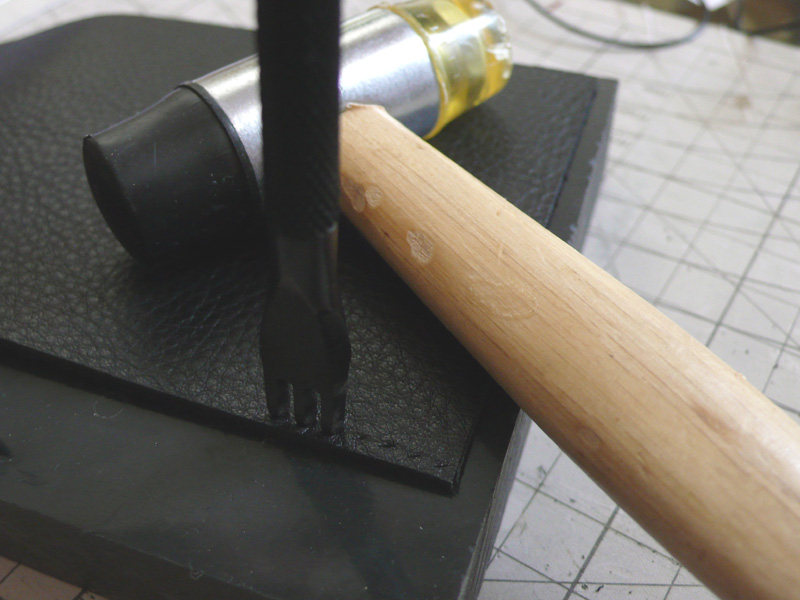 5.The needle won't go through that way, so you'll need to punch a hole where you're going to sew.
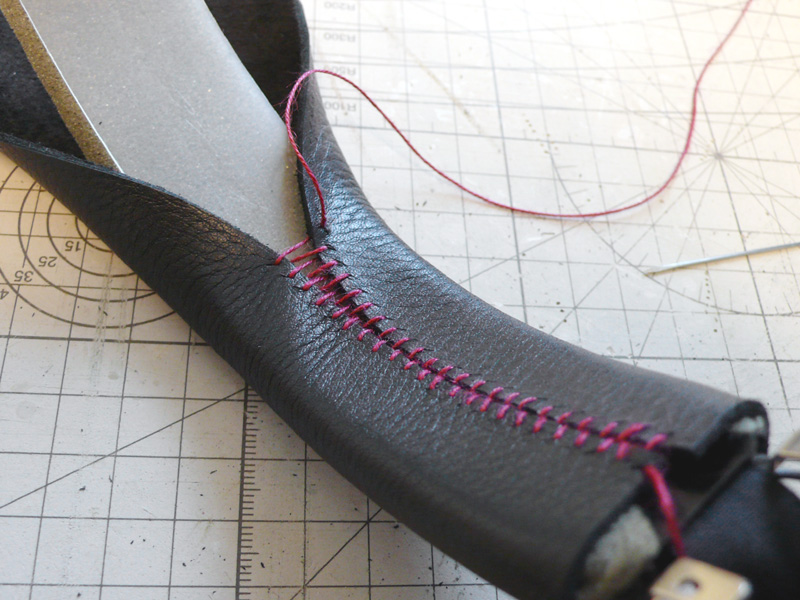 6.Cover the bone with a sponge, wrap the plastic pattern with the outer leather, and sew it together in the same way as a baseball. Don't forget to pass the thin wiring cord through. This is the same sewing method used for baseballs and car steering wheels. In a more familiar way, I think it's the same sewing method as shoelaces. In the photo, I sewed from one side with one thread, but it is much easier and neater to sew from both sides like shoelaces. (I tried again later. ;^_^A )
I chose red thread this time. Sewing has probably been around since home economics class in elementary school...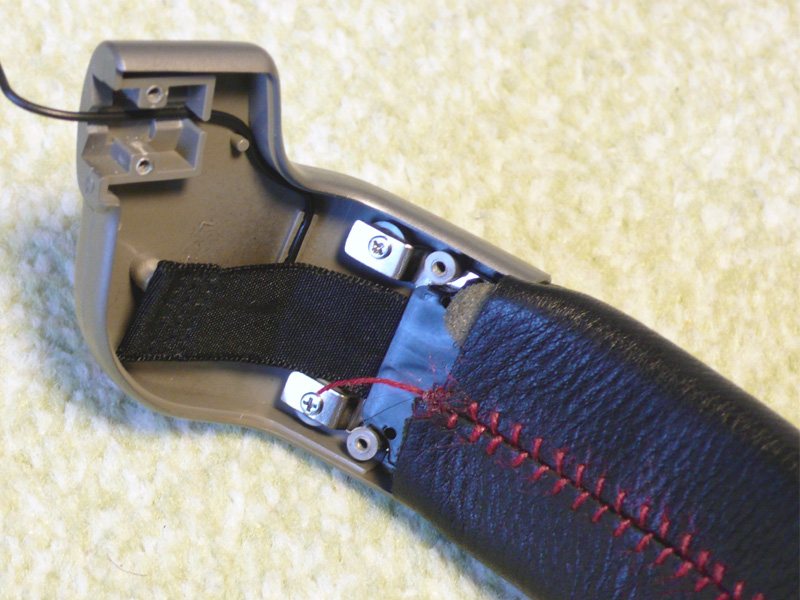 7.Once you've sewn all the pieces together, apply a small amount of superglue to keep the ends from fraying. Reattach the plastic stays while avoiding thin wiring cords.
 8.Pass the wiring cord through the hole in the hanger that supports the floating base (4-946-222-01 / 4-946-223-01) and cover it.
 9.Put the wiring cord in the groove on the front side and bring it to the root. In the photo, it is on the back side by mistake, but I think the front side is better.
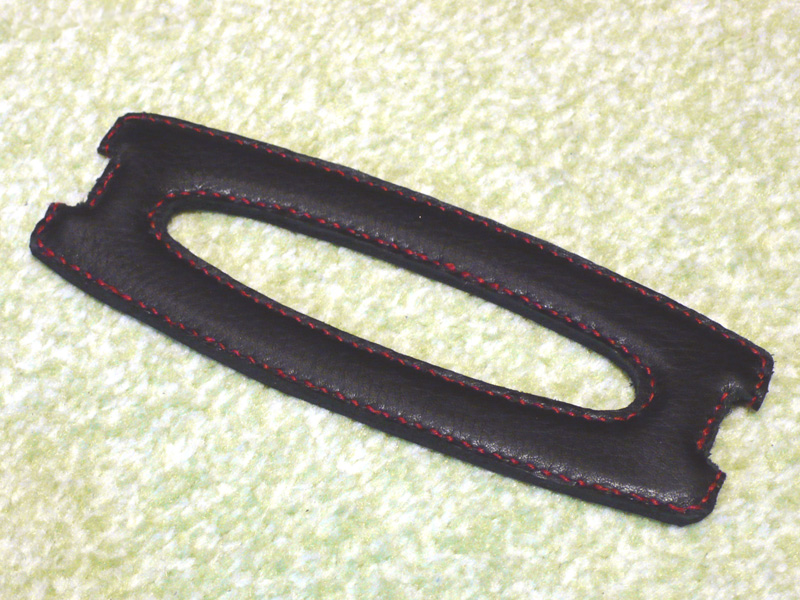
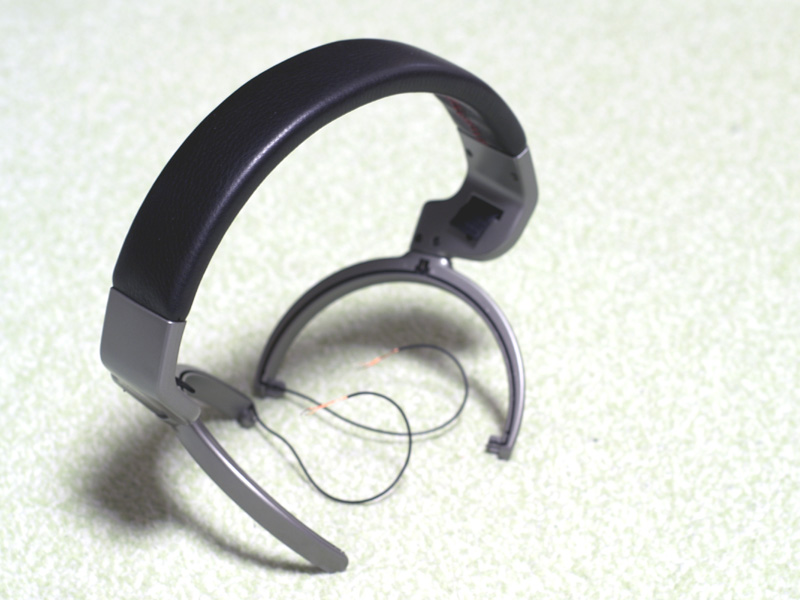 10.The headband part is now complete.
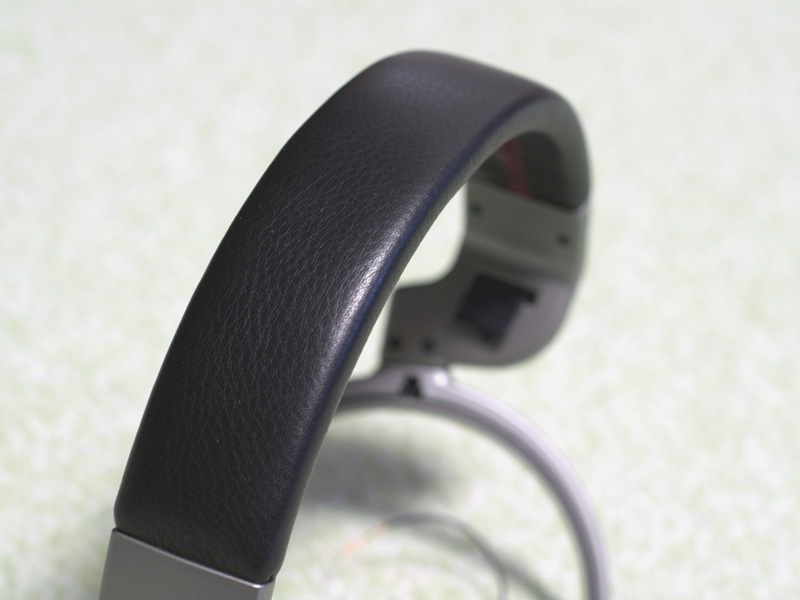 11.It's soft leather, so it feels good to the touch. Also, because it is made of genuine leather, I don't think it will become sticky or tattered in the future. This time, I tried to choose something that is as close to the original as possible, but I think you can make a lot of variations by changing the leather and sewing thread.
 1.Cut the outer leather of the adjustment band with scissors and take out the contents. The metal fittings are made of stainless steel, but the pattern is made of paper.
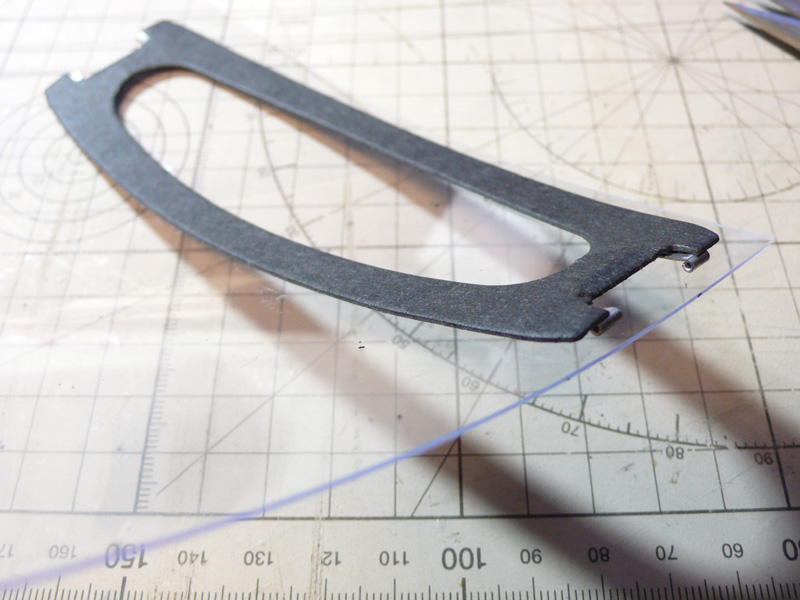 2.If it is paper, it will bend, so cut out a PVC board in the same shape.
 3.Glue the metal fittings with SUPER-X so that they are sandwiched between the paper pattern and the PVC pattern.
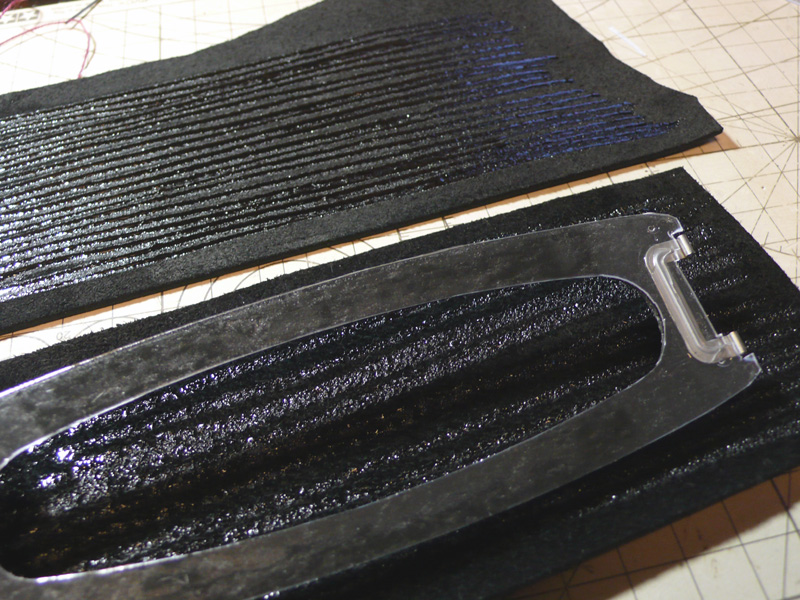 4.Apply a thin layer of SUPER-X to the back of the leather and glue it with a pattern in between. After that, let it dry for 2 to 3 hours.
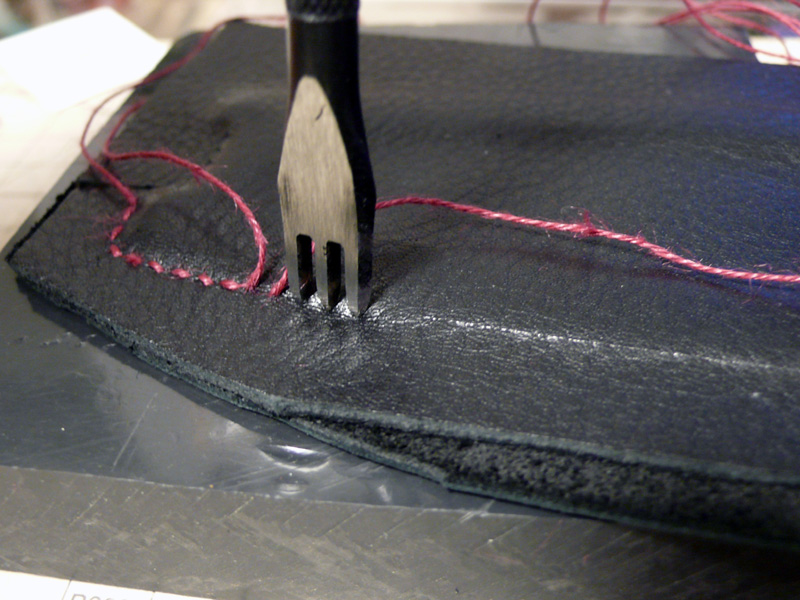 5.Make holes and sew flat seams.
 6.Cut along the seams to complete the adjustment band. The seams don't line up very well, but I won't worry about it.
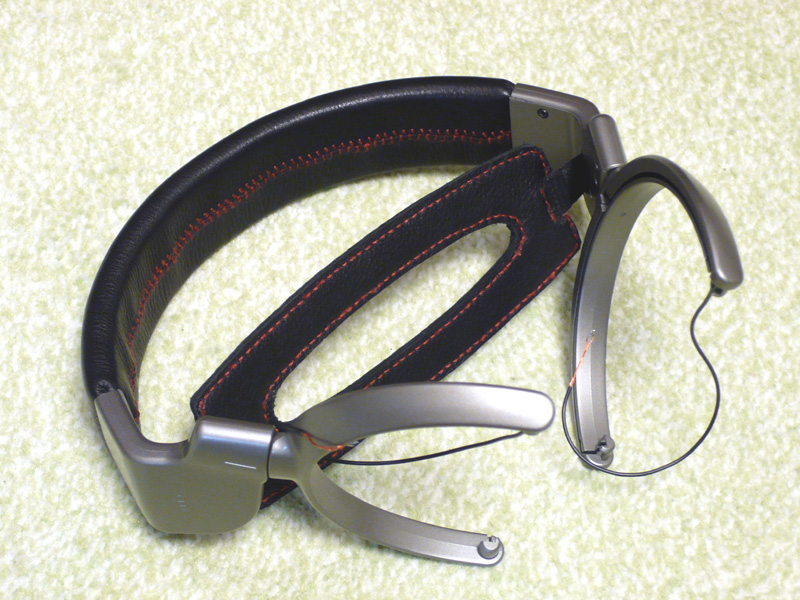 7.The adjustment band is attached to the original position, and the genuine leather headband is completed. With this, I don't think the headband part will become useless in a short span of time.
Assemble the headphones in the reverse order of disassembly.
 1.Attach the floating base (4-946-222-01 / 4-946-223-01) to the hanger, paying attention to the position to pass the wiring cord.
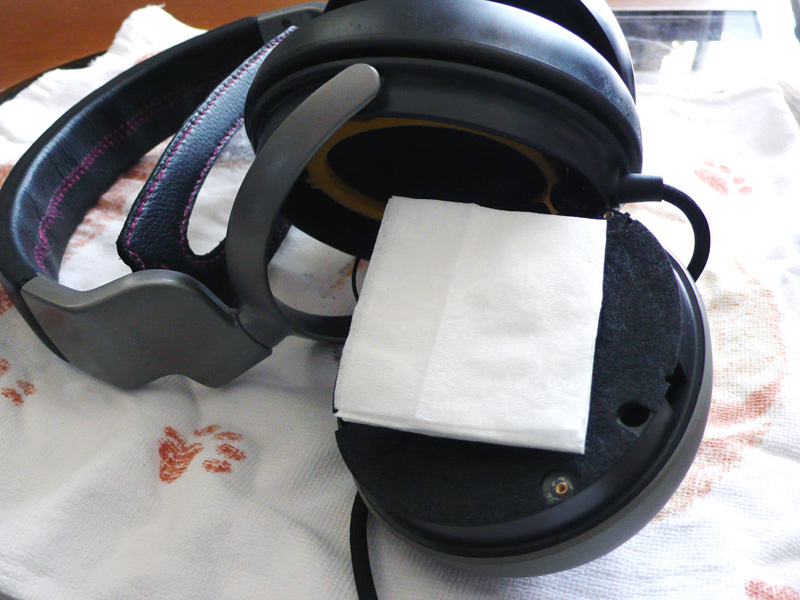
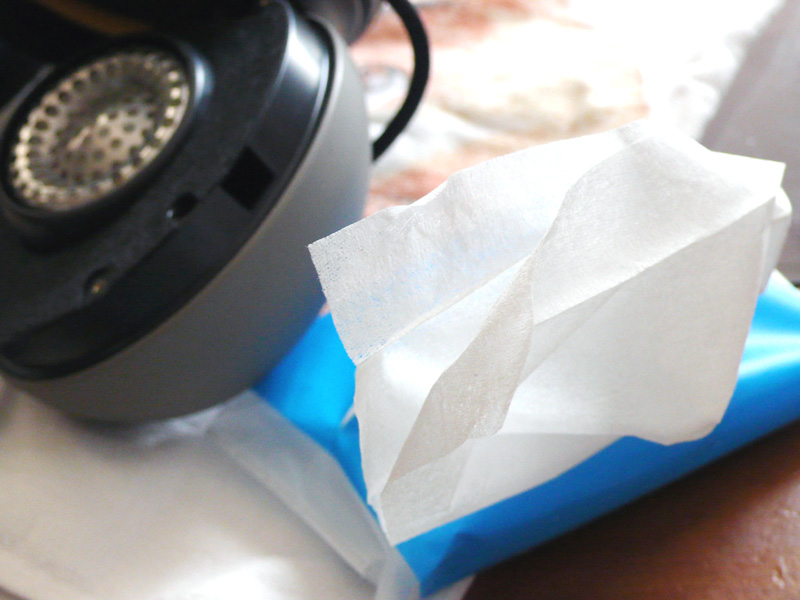 2.The urethane sheet (4-947-053-01) on the driver (1-505-132-11) had melted and was useless, so I used a pocket tissue instead. The tissue consists of 2 thin sheets, so open it once and fold it so that about 10 sheets overlap. You can adjust the number of layers of tissues to adjust the sound quality to your liking. In my case, about 10 sheets was just my favorite feeling. Paper has a natural sound, and I personally think it's better than sponge. If the urethane sheet (4-947-053-01) is not installed, the high-pitched sound will be harsh. Because it is a part that has a considerable impact on sound quality, I think that it is better to order a genuine product if you are concerned about it.
 3.Place the stacked tissue on top of the driver and screw it to the floating base (4-946-222-01 / 4-946-223-01).
 4.Solder the wiring cord.
You have to solder both drivers with correct polarity.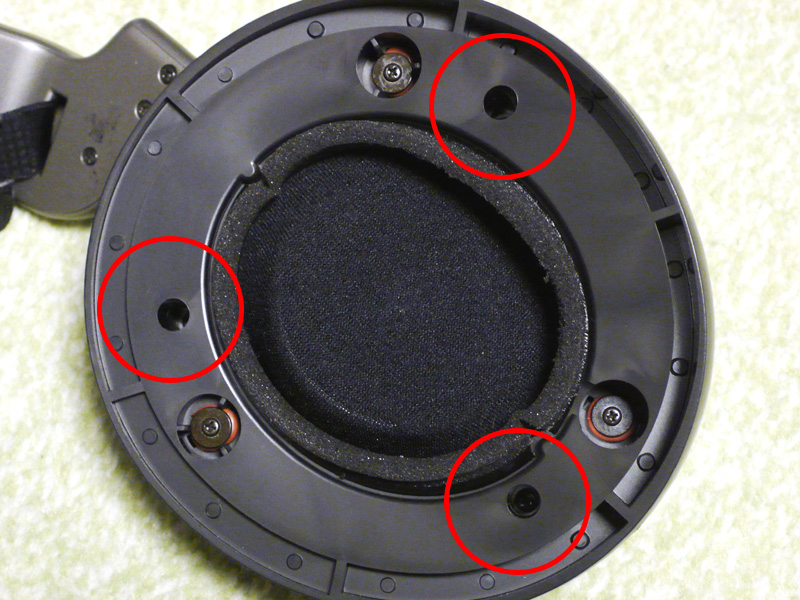 5.Fix the housing (4-946-226-01 / 4-946-227-01) with screws.
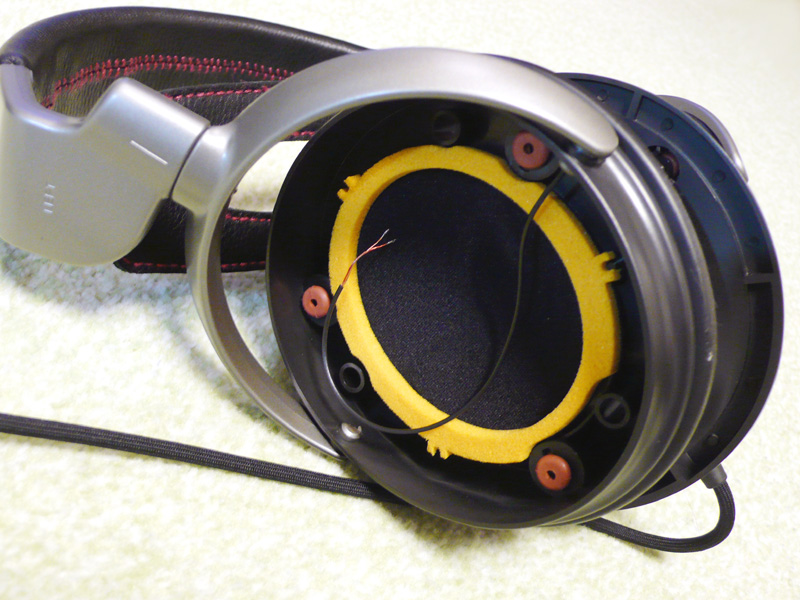
The floating base (4-946-222-01 / 4-946-223-01) has a hole for the screw (7-685-135-19) at the position marked in red in the photo, and the housing can be fixed by inserting screws later.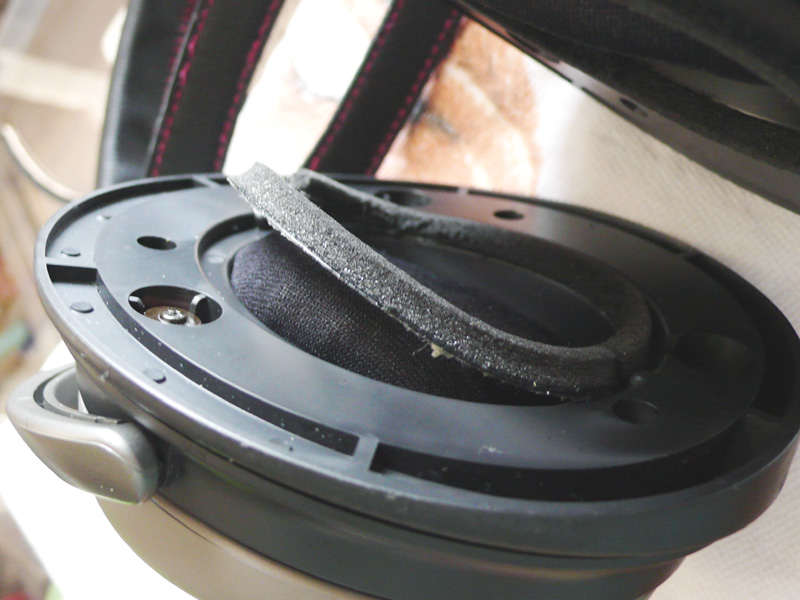 6.During assembly, I noticed that the urethane ring (4-946-189-01) was also rotting. If I touch it a little too hard, it will fall apart, so I will replace it.
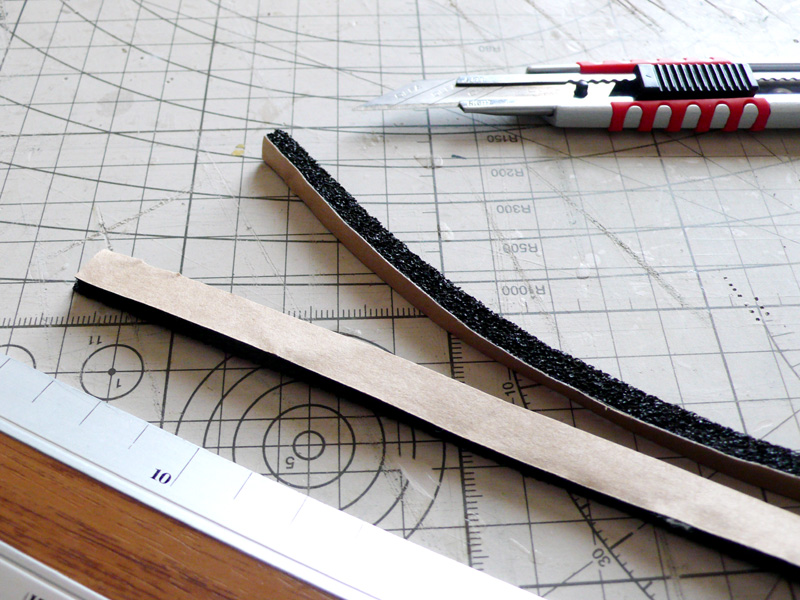 7.As an alternative, cut a 5mm thick EPT-sealer to an appropriate width and use it. I think that the Gap Tape sold at Home Depots can be used instead.
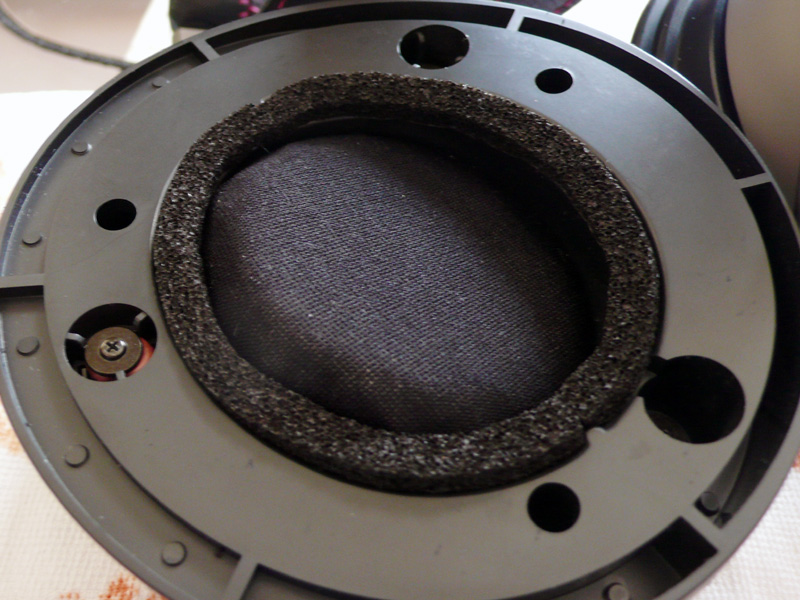 8.Where I pasted the EPT-sealer.
The front screen (4-946-190-01) is a little stiff because I didn't process the tissue into a circle.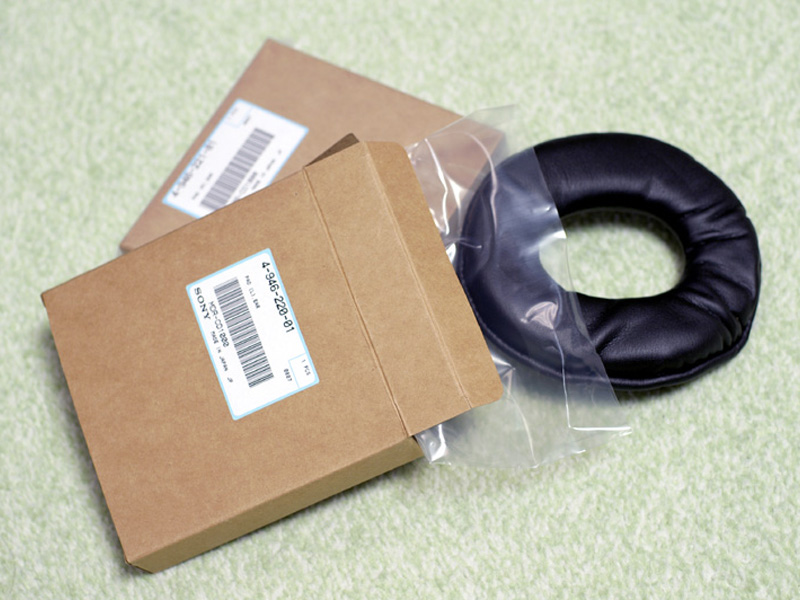 9.I ordered genuine SONY ear pads (4-946-220-01 / 4-946-221-01).
I called Sony customer service and it arrived quickly (As of May 2010), but it seems that they are almost out of stock. I think it will be fine for another 5 years, but I doubt if I will be able to order it again next time.
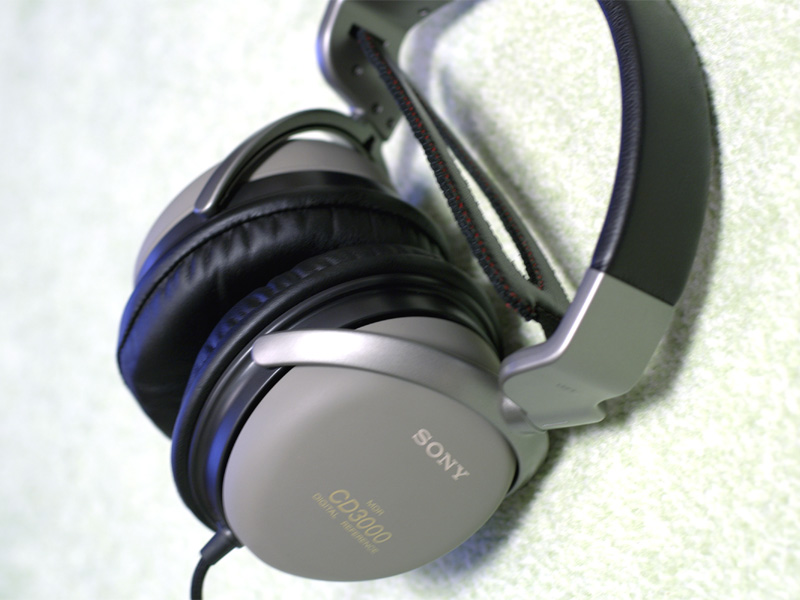 10.Complete by attaching the ear pads (4-946-220-01 / 4-946-221-01).
It's been in pretty good condition. I would like to find time to make the leather for the ear pads myself.
I found a material that looks good for the outer leather, so I'm thinking of making my own ear pads.
* It seems that general-purpose items of ear pads were on sale at some point. I don't know if there is a difference in terms of comfort compared to genuine SONY products, but I feel a little relieved that there are replacements available for the time being.
 1.First, separate the sewing thread of the old ear pad with scissors.
Be careful not to cut the leather part.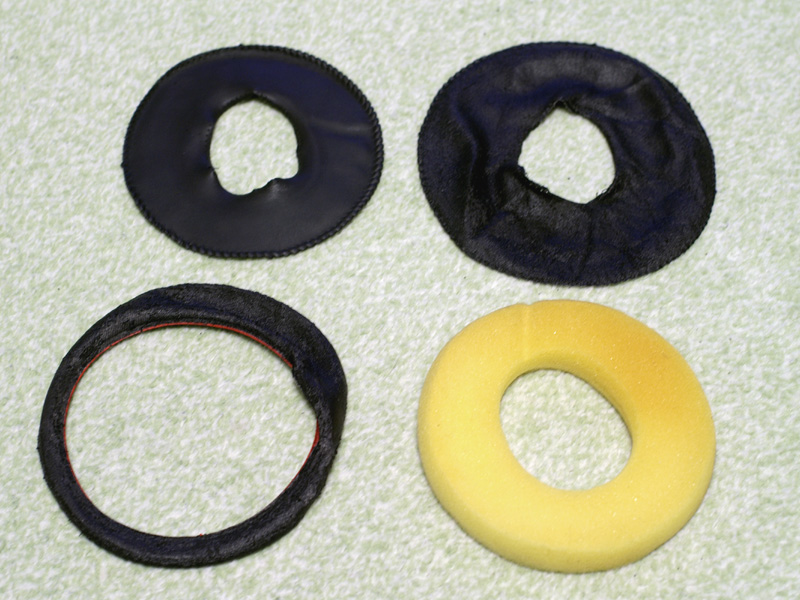 2.The ear pad seems to consist of 4 parts.
The photo shows the separated ear pads on the right side, but the left side will be separated in the same way. Reuse only the sponge inside. 3.Try making a sewing pattern.
I scanned the separated parts and made a sewing pattern. I have published the sewing pattern data, so please use it freely. The shape of the ear pads of the MDR-CD3000 is symmetrical. This sewing pattern data is for the right side, so if you want to make the left ear pad, flip it over and use it.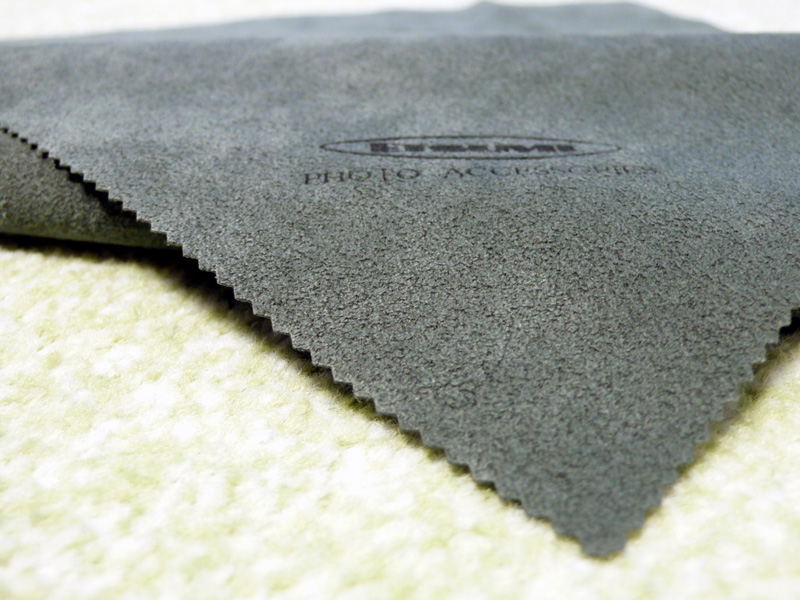 4.I'm thinking of using artificial chamois as the leather for the ear pads.
This time I chose ETSUMI E-252 artificial chamois cleaning cloth dark green color. I really wanted black, but black is not sold. It feels good on the skin, and has better breathability and water absorption than the genuine material, so it can be expected that it will not get stuffy even after long periods of use. The durability of the material itself seems to be good. (Can be washed in a washing machine) I will make part A and part B with artificial chamois, and make part C with the headband repaired cowhide leather.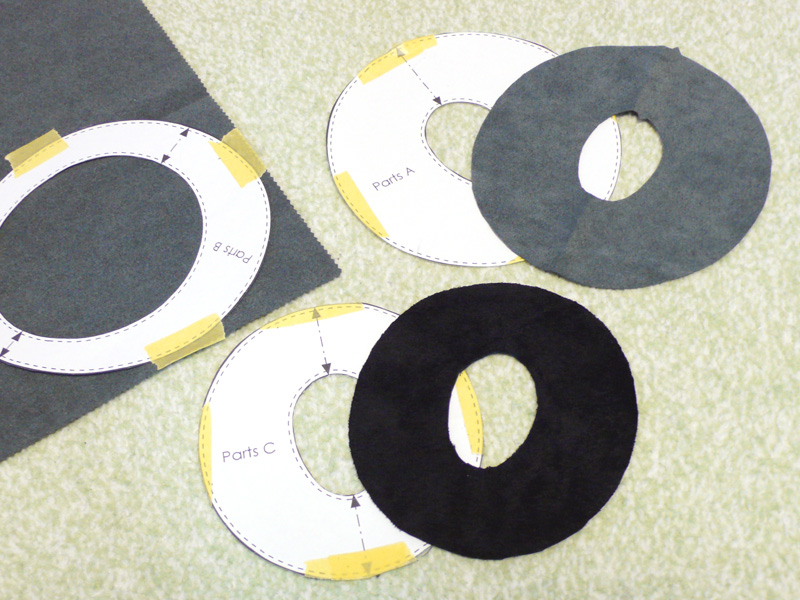 5.Cut out the material according to the sewing pattern.
 6.First, put parts A and C together so that the fronts overlap and sew the donut hole together. No one can see the seams, so sew them comfortably. When the earpads were first released, this part was glued with adhesive, so it was torn immediately and the sponge was visible. It seems that it has been changed to be properly sewn before I knew it, but since the material itself is the same, the outer leather will become tattered after a few years.
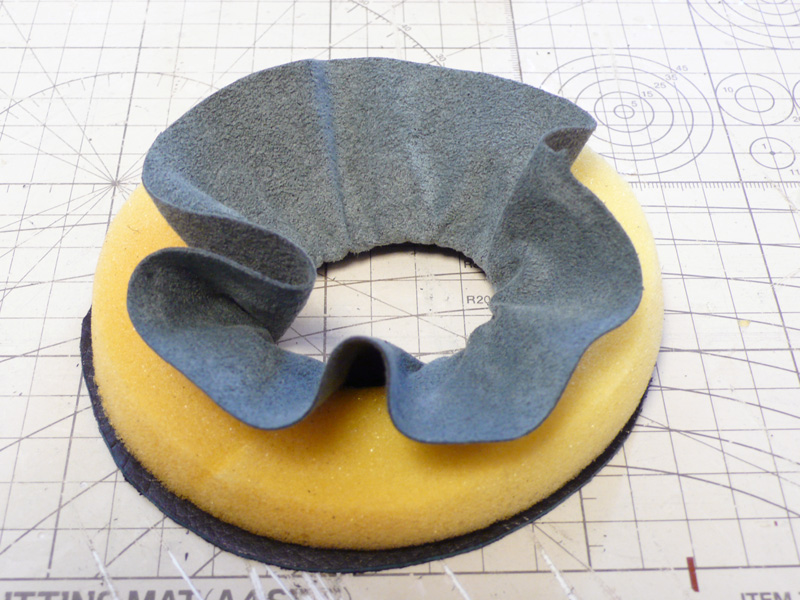 7.Set the sponge inside out so that the outer leather is pulled out from the donut hole.
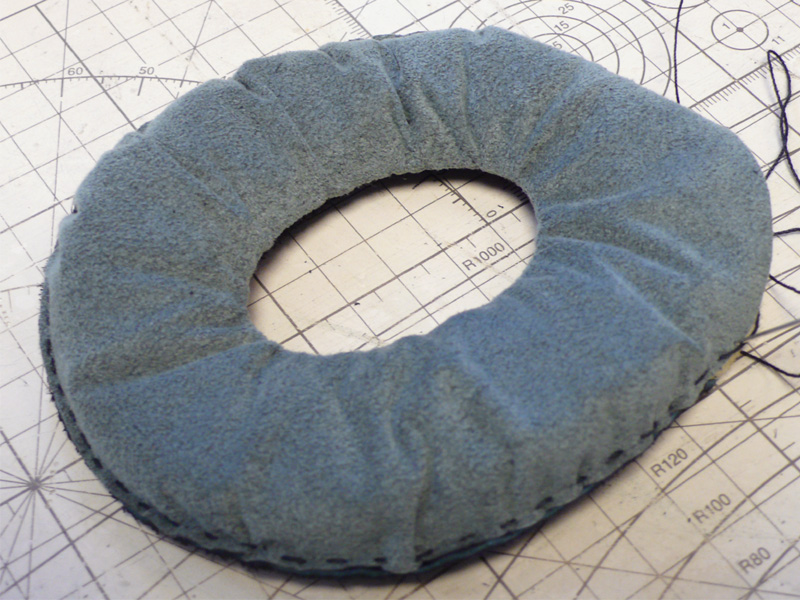 8.Sew around the perimeter.
No one can see this seams too, so sew them comfortably.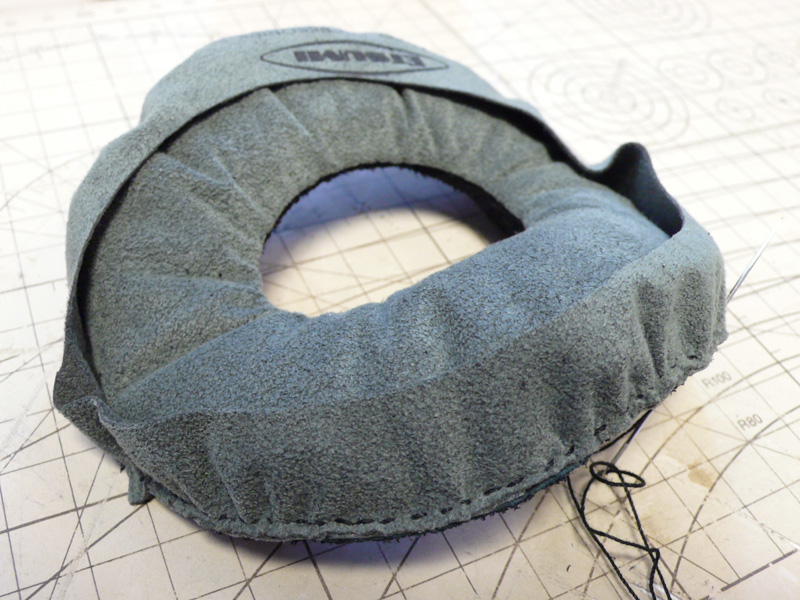 9.Finally sew part B.
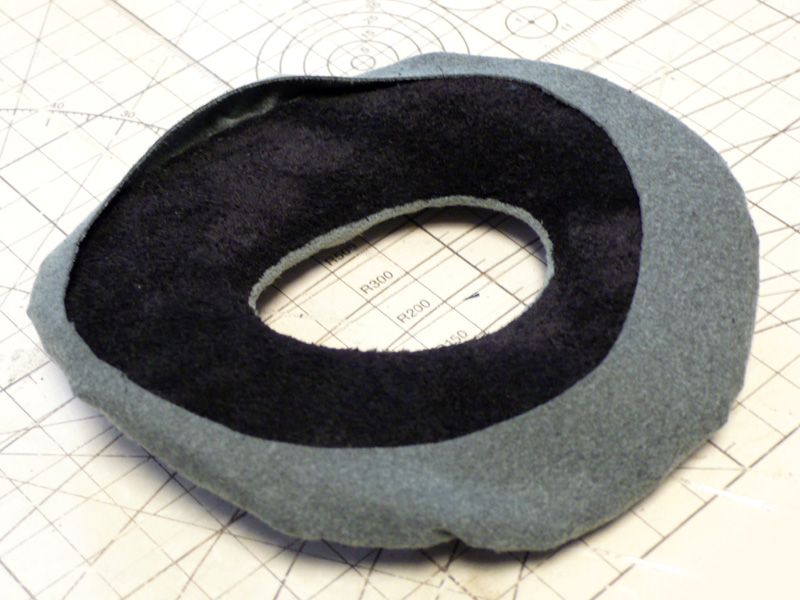 10.Completed by turning part B inside out.
The finish is a bit odd...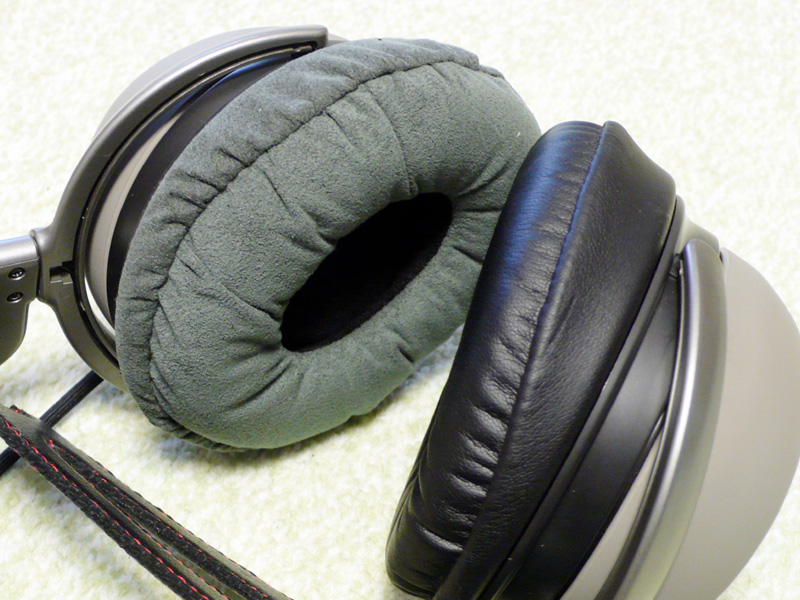 11.I attached my own ear pads to the headphones.
...... (;^_^A
A feeling of wearing is not bad. It feels less steamy too. But it looks ...
Either the color is bad or it looks like weathered synthetic leather. I feel like I now understand why manufacturers rarely use buckskin or cloth for this part. I would like to try again if I find something good material.
As a trial, I bought an ear pad sold as a general-purpose item.
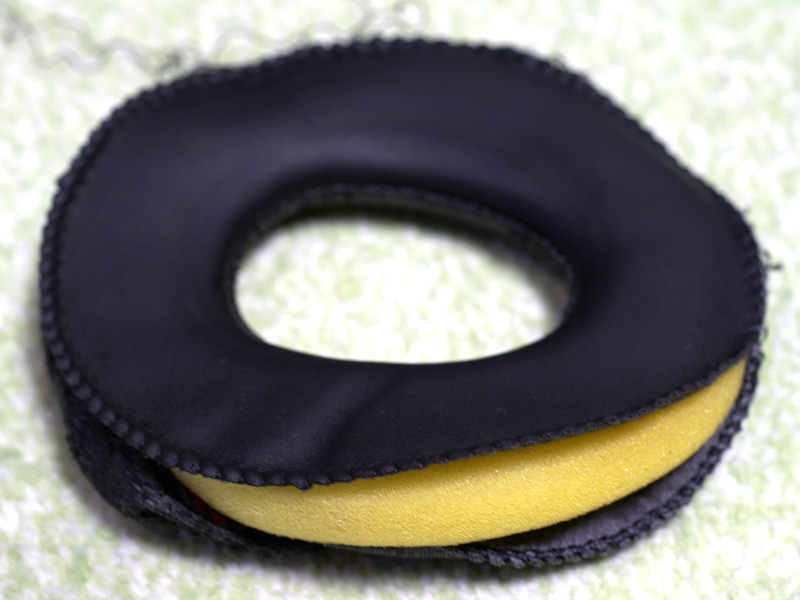
 1.It is a little hard and has a smooth surface.
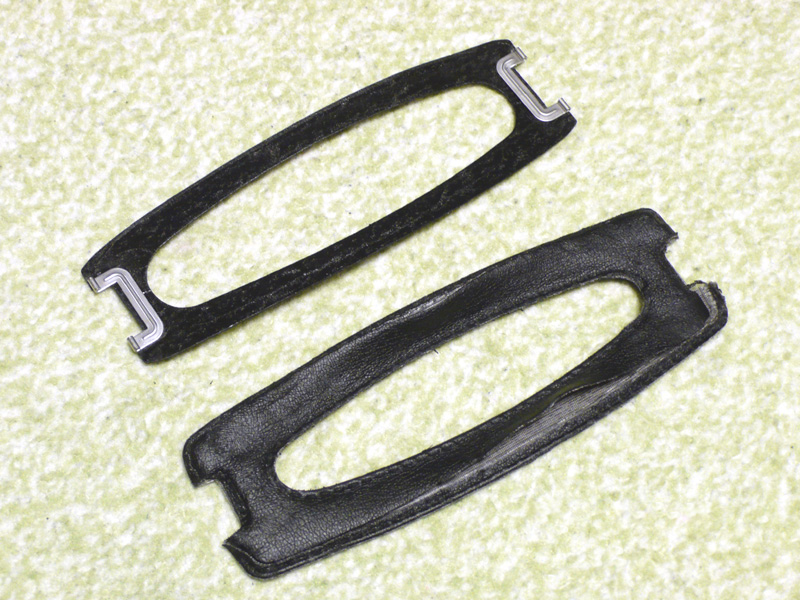
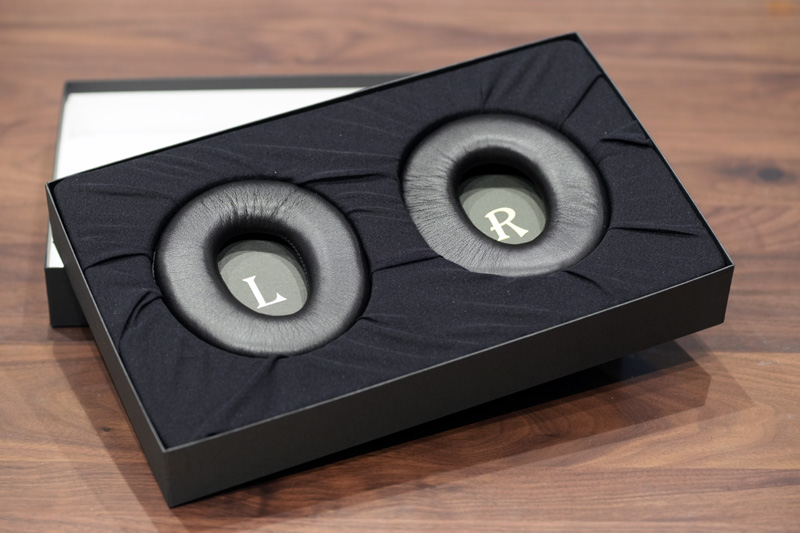
 2.The upper right is a pad made by SONY and the lower left is a general-purpose product.
They look different, and they feel completely different. The pads made by SONY are soft and pleasant to the touch, but the general-purpose pads are a little hard and smooth and feel like vinyl. General-purpose products may get stuffy and hurt your ears if used for a long time. It's not unbearably bad, but it's definitely different when I compare it like this.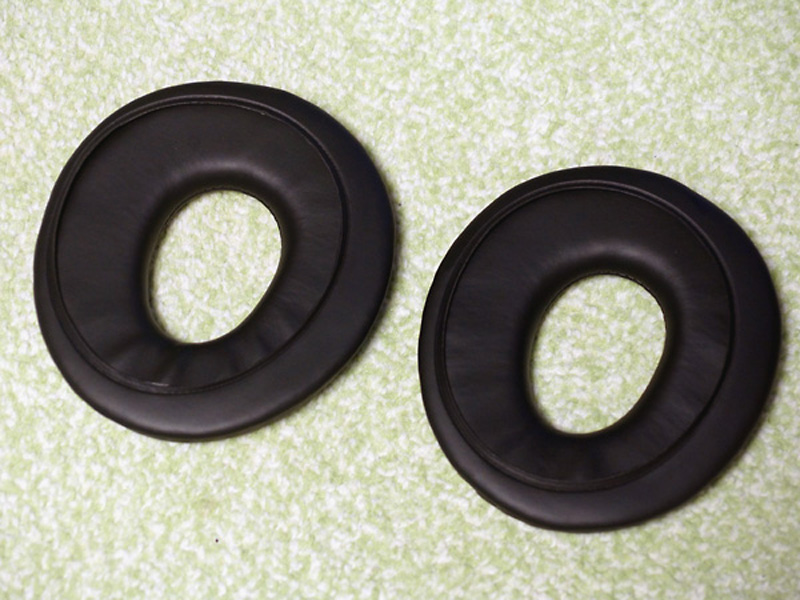 3.Another problem...
The pads are originally symmetrical in shape, with dedicated right and left sides. However, both of these general-purpose products have the same shape and only the left pad is available. Was it a shipping mistake ? I asked about it, bat it was not a mistake, it was necessary to install the right pad upside down and force it to be used. (゜_゜;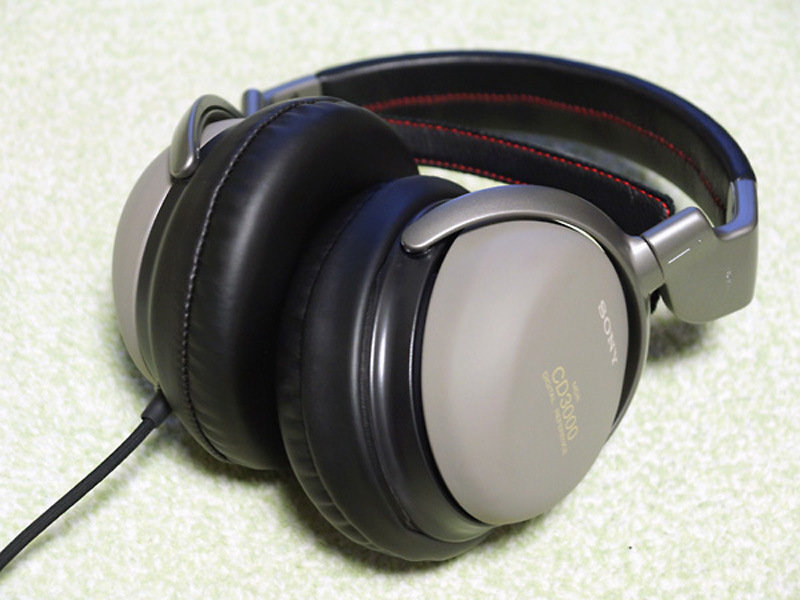 4.I tried to install...
It certainly doesn't mean it can't be installed. It seems that there is no problem with the appearance. I have mixed feelings, but it's better than a sticky pad, so I'll just accept it.:
:
:
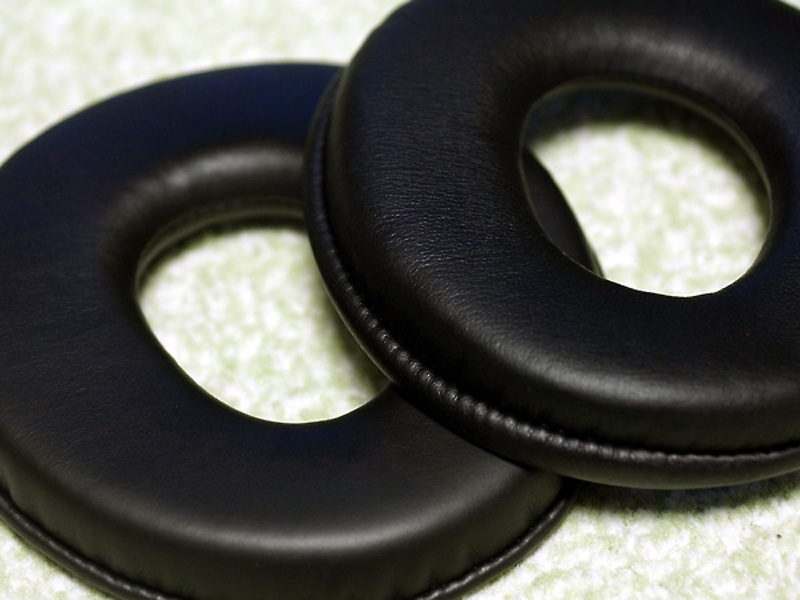
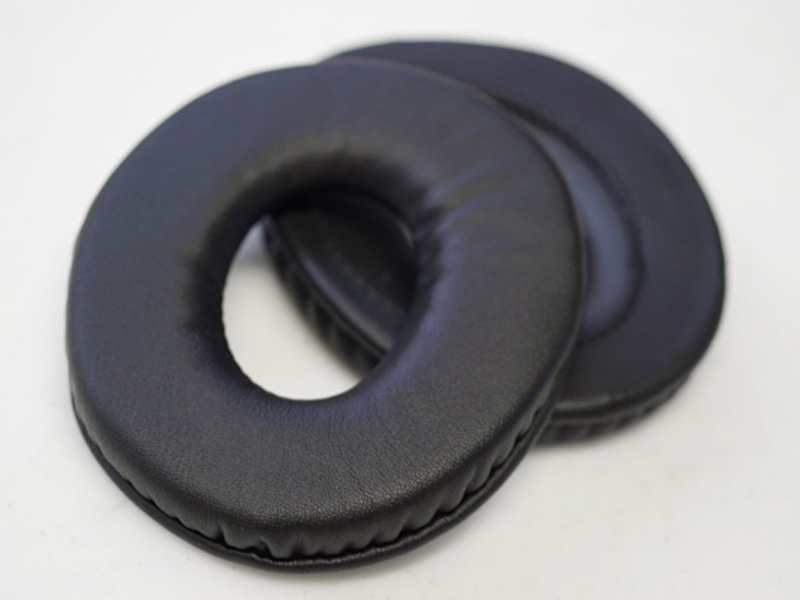 5.Recently, it seems that ear pads are being sold cheaply on Amazon. When I bought it as a trial, it was symmetrical on the left and right, and the leather on the front was soft and had a feel similar to that of a SONY pad. The texture is similar and it feels pretty good.
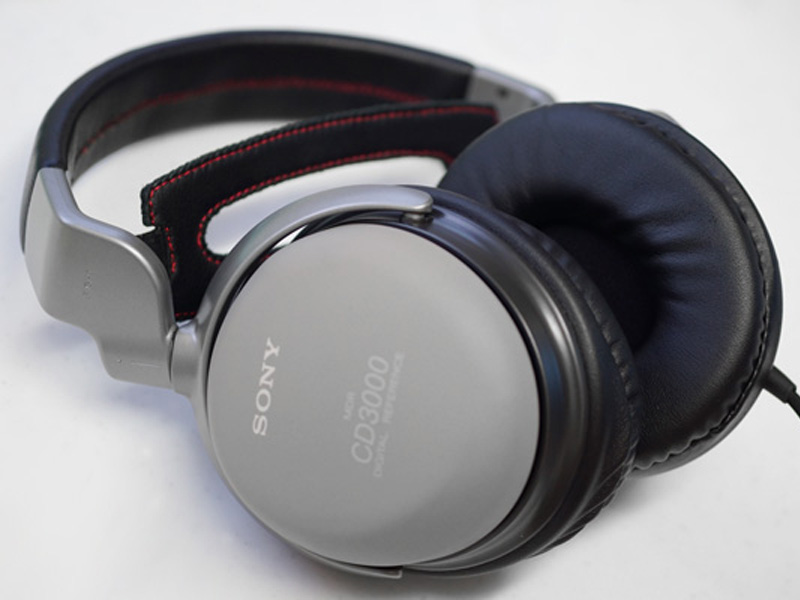 6.It's a little small and the stitching seems to be loose, and it doesn't fit well because it has strange wrinkles after attaching it, but the price is cheap and I think this is enough.:
:
:
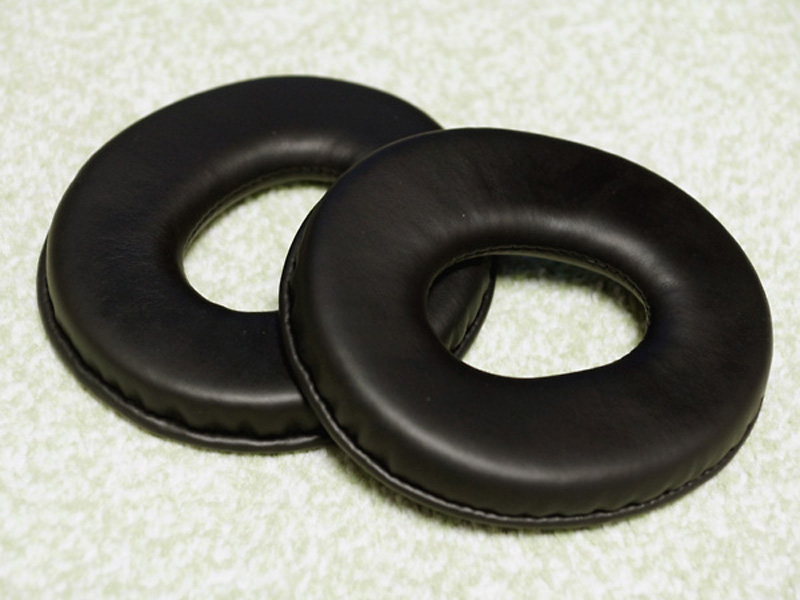
 7.This is a genuine leather ear pad made in Japan. It looks like something like this is on sale now.
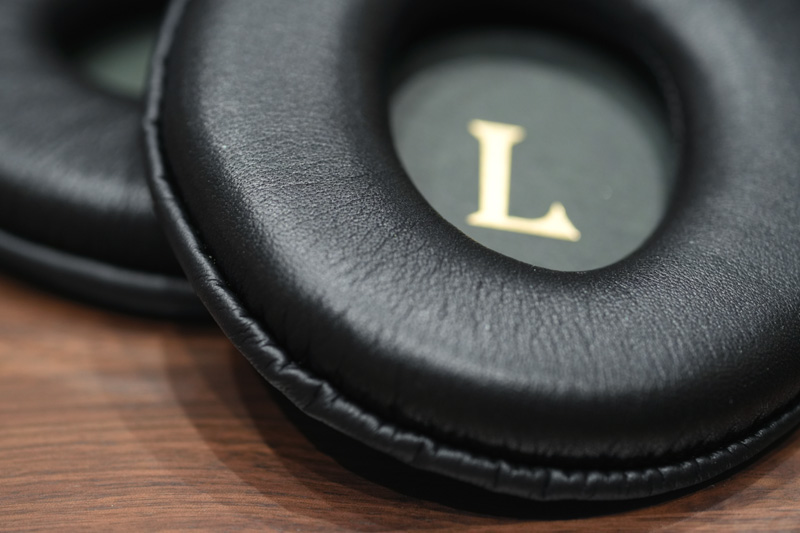 8.They are not as good as the original ear pads, but they are quite soft and pleasant to the touch. The sewing is also neat.
 9.The texture looks great....However, it seems that the only parts of this ear pad that are made of genuine leather are the parts that directly come into contact with the ear. The other parts are made of synthetic leather, so I think they will wear out in about 5 years. It seems that products made from protein leather, which is the same as the genuine product, are also available at a lower price, so that might have been better...
I found a headphone cover, so I bought it as a trial.
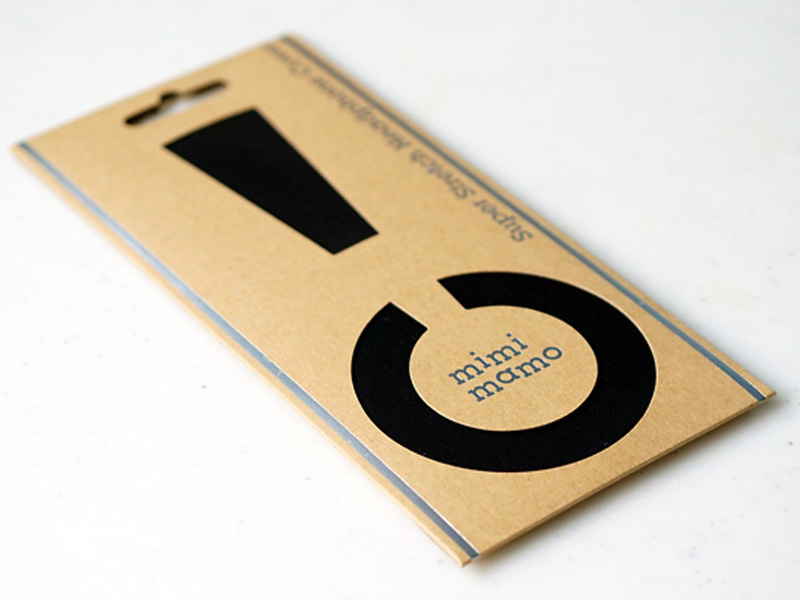 1.I bought a product called "Super Stretch Headphone Cover". It seems that there are various colors, but I chose black safely. By the way, it is L size.
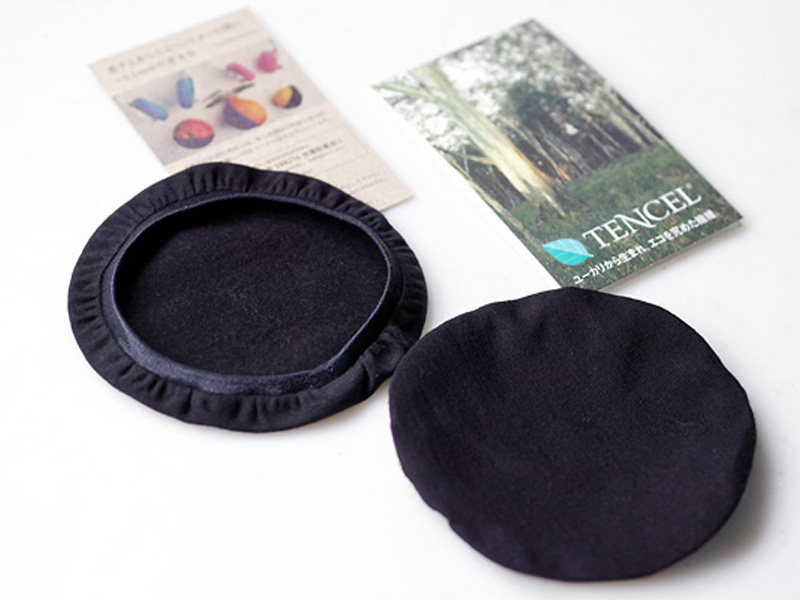 2.The material is very stretchy and feels good on the skin.
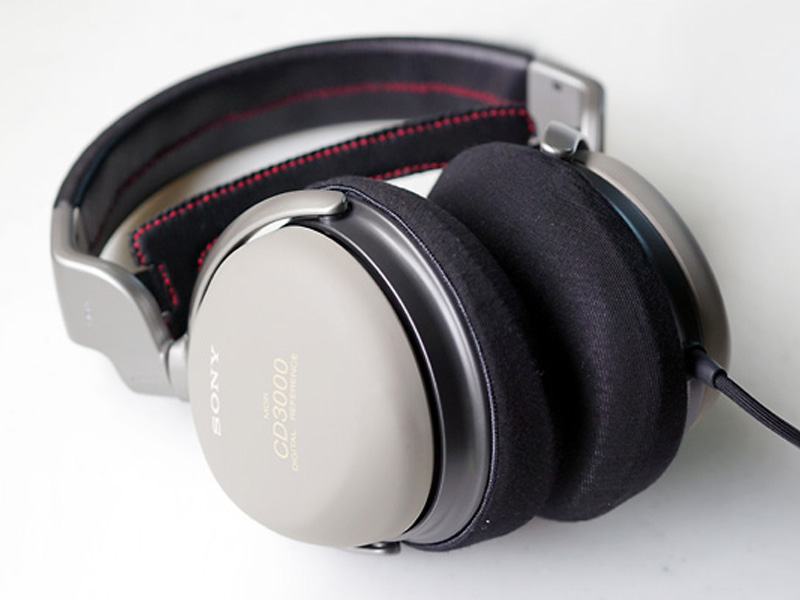 3.I tried it on.
L size is perfect. It feels like it will reduce the heat.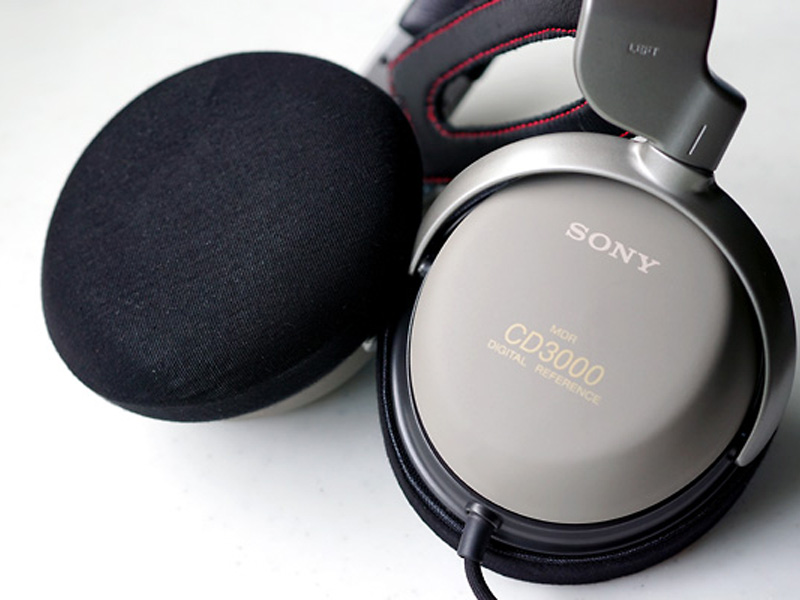 4.I put it on top of a slightly sticky hydrolyzed pad, and it feels smooth and smooth. If you don't mind the looks, I think this is also a good way to deal with old ear pads.
This headphones sound very good, but the materials used are flawed and after about 5 years they become tattered apart in various places. In particular, the surface leather of the headband and ear pads, which we usually touch with our hands, feels very good to the touch, but on the other hand, it becomes sticky and peels off over time, making the surroundings black and dirty. No matter how many times I replaced it, the same thing would happen again, so I tried repairing it using a different material that has less deterioration over time.
The headband made of genuine leather has a relatively good texture and I think it will be fine for the next 10 years or more. I think that if you ask someone who is good at sewing, the degree of perfection will go up.
It's a slightly recommended modification, but if you do it, you can think of various troubles such as damage or loss of units and parts, so please do it carefully and at your own risk.
By the way, according to the service manual, the following items are required when repairing with SONY genuine parts.
P/N Item Qty. Unit Price Replacement 4-947-053-01 SHEET, URETHANE 2 JPY 200 Pocket Tissue 4-946-189-01 RING, URETHANE 2 JPY 200 EPT-sealer (Gap Tape) 4-946-220-01 PAD (L), EAR 1 JPY 1,500 General-Purpose Parts 4-946-221-01 PAD (R), EAR 1 JPY 1,500 General-Purpose Parts A-4540-110-A BAND ASSY, HEAD 1 JPN 7,300 Self-made repair of synthetic leather part with genuine leather


